Create Album
In this article, you'll learn how to create a new album. We'll select a template, customize colors, fonts, sticker layout, and chapter structure to our preferences—and create an account.Select Template
Now it's time to get started! Click this link to access the template overview. The template forms the foundation for your album and will influence its later appearance: Choose the template that you like best and that suits your occasion — you won't be able to change it later.
You cannot change the template later. Before you start designing, you should be confident in your choice.
The designer offers templates for various occasions. You can select different categories through the menu in the top left. The corresponding templates then appear in a (scrollable) overview on the left. Click on a template to select it. You can now "flip through" it using the small arrow buttons. Find the template that appeals to you most and click "next".
Customize Style
Of course, you can customize the template exactly to your preferences. To make this as easy as possible, we give you the option to configure colors, fonts, and the appearance of stickers right here. You can adjust these values at any time later.
Edit Chapters
Each template comes with a series of suggested chapters. You'll learn more about chapters later in this tutorial. On a desktop device, you can adjust the template's chapters directly here (e.g., rename or delete them). You can also modify the chapters at any time later.
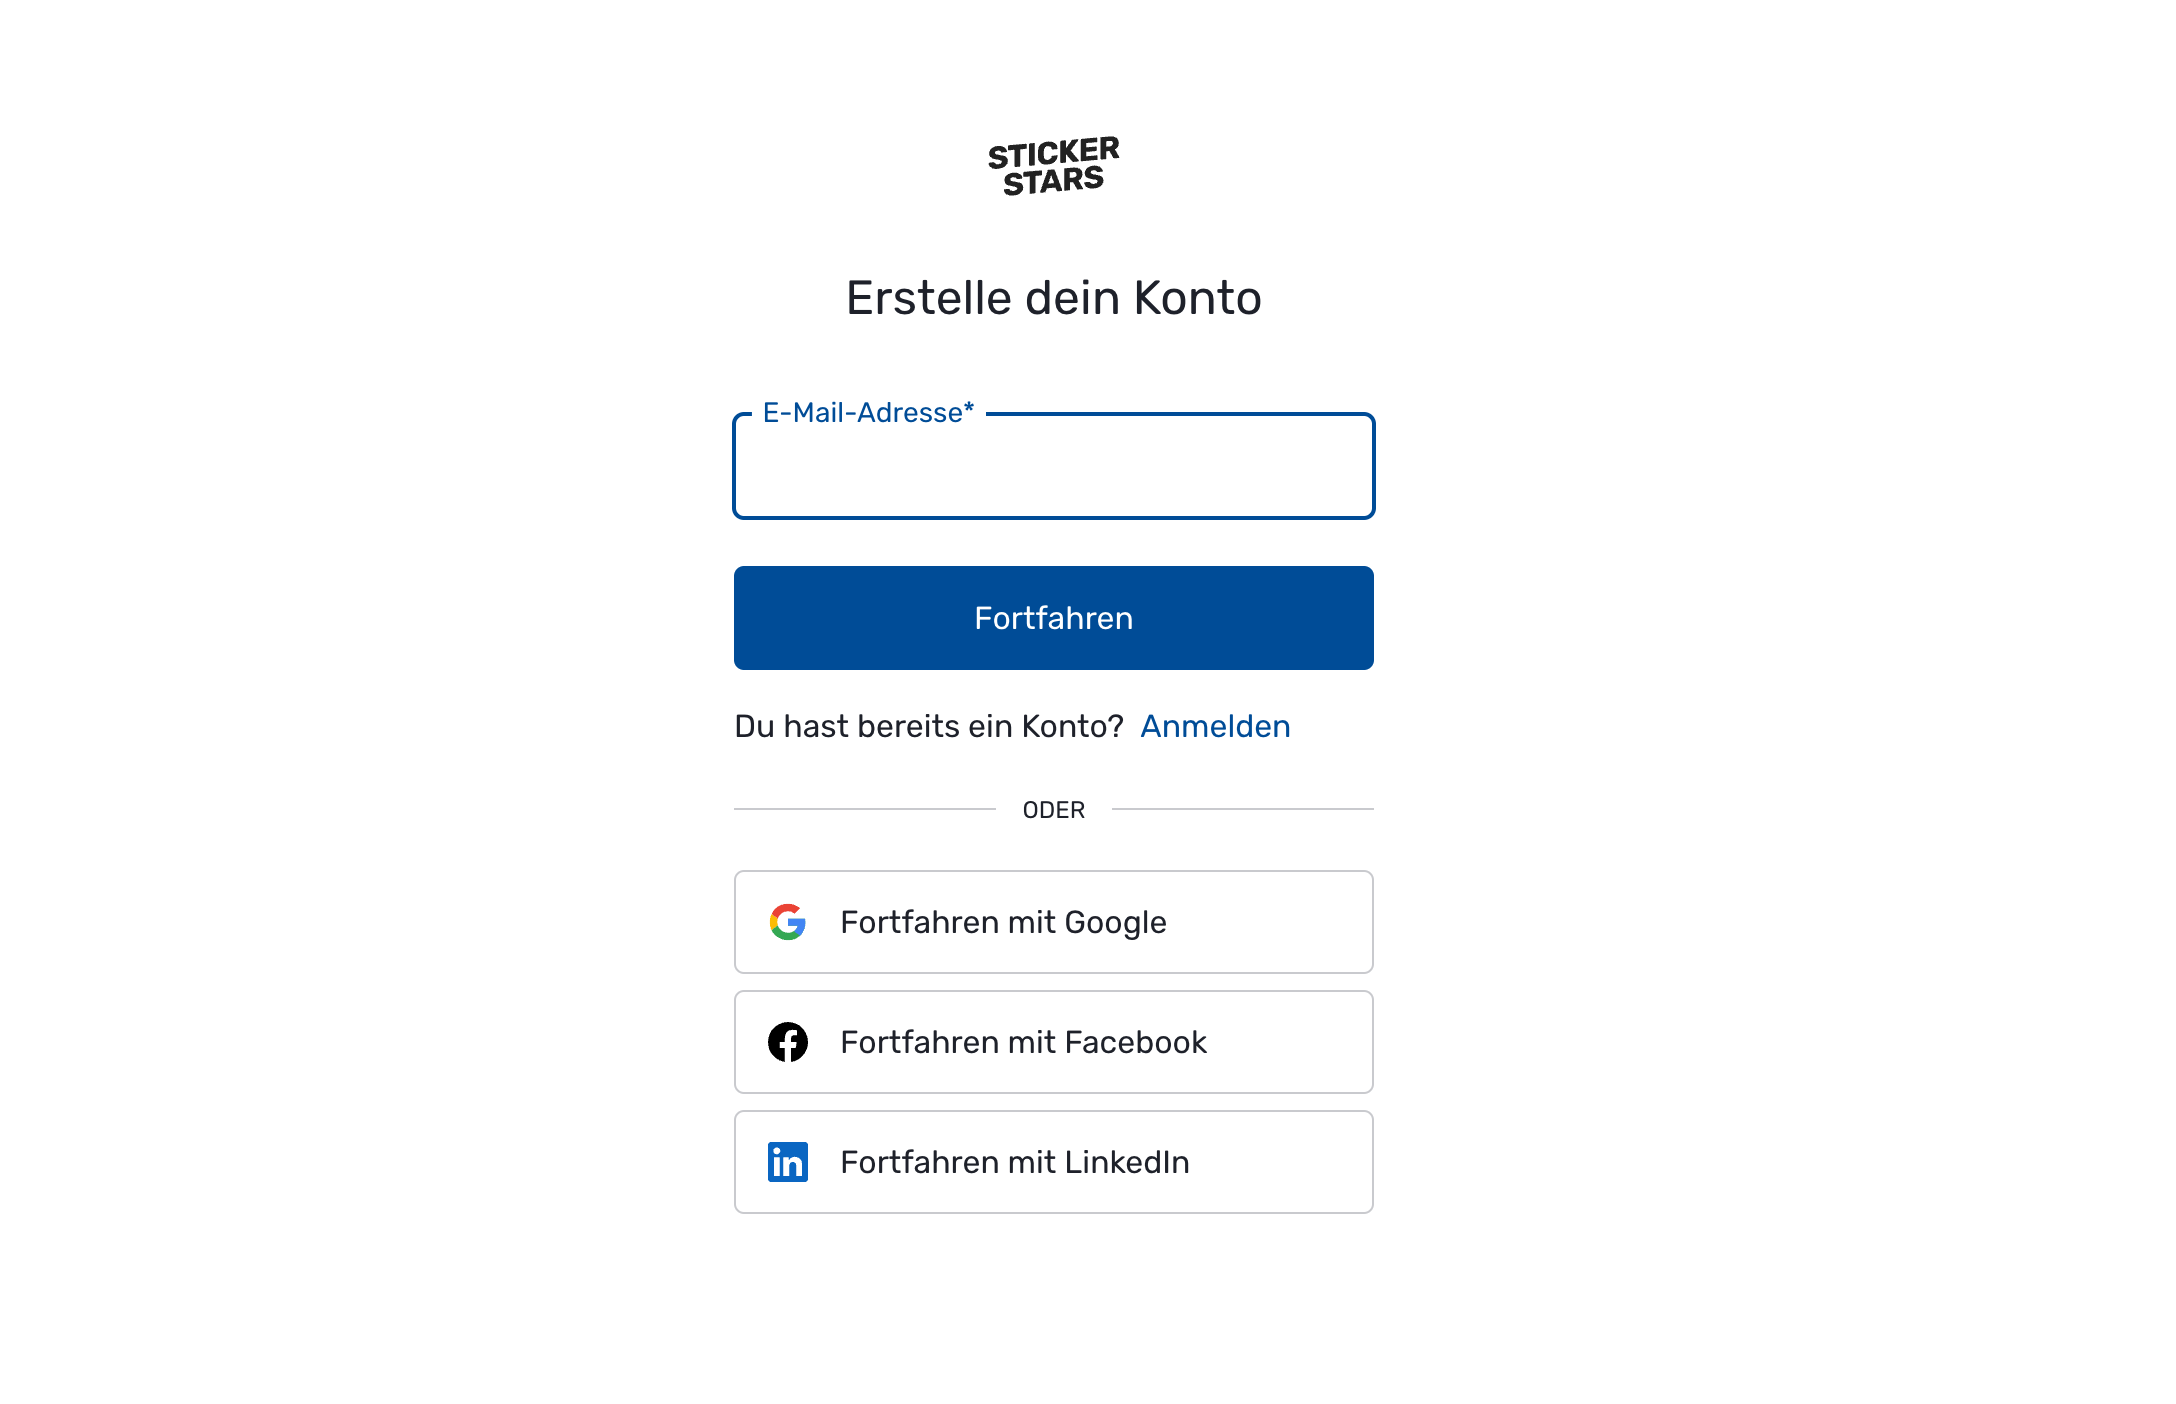
Create Account
In the final step, you can now create your account. The account is necessary so we can save your album and protect it from unauthorized access. You can use your existing Google or Facebook account, which makes it very simple.
