Managing Chapters
To help you stay organized while editing your album, the Designer provides a way to organize your stickers and album pages into chapters. In this article, we’ll explain the purpose of chapters and how to manage and use them via the user interface.
Why Do I Need Chapters?
The album template you selected at the very beginning already suggested a number of chapters, such as a "Greeting" chapter, and copied them into your album. Each chapter is designed to group related stickers and album pages around a specific theme, keeping everything neatly organized.
Chapters make it easier to control the structure and order of your album and quickly locate the stickers and pages you need. They also assist in assigning and placing stickers collected via the Stickerlink, but more on that later.
Order of Pages and Stickers
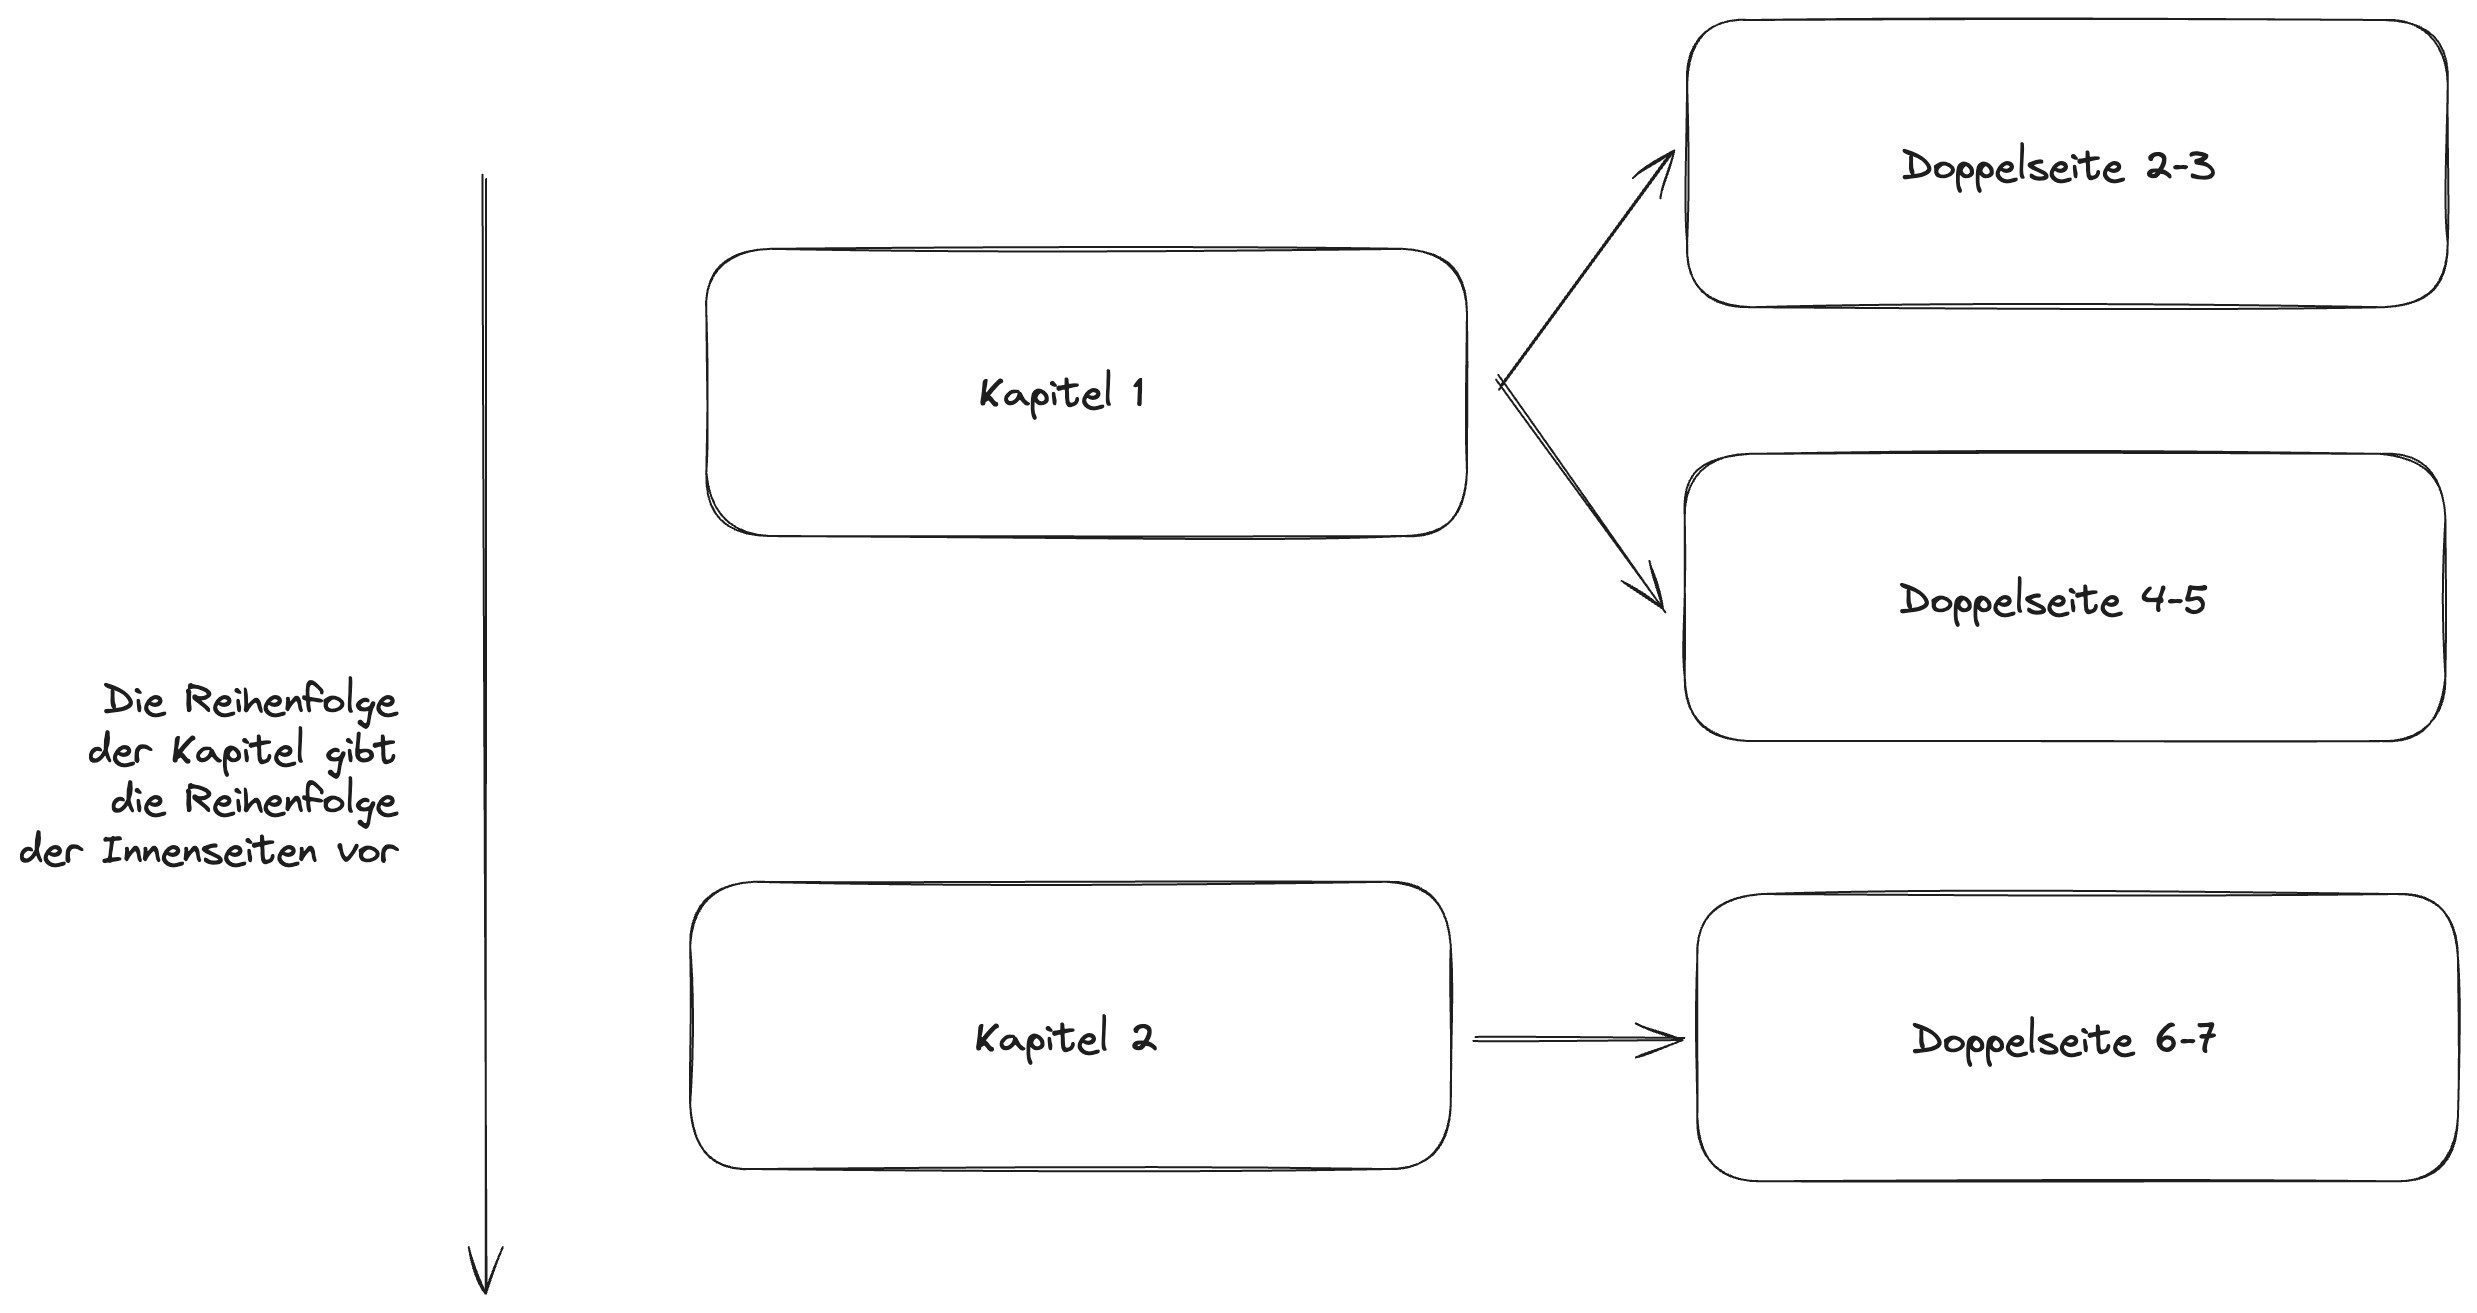
Chapters define the structure of your album’s pages and stickers, similar to a book. Changing the order of your chapters in the sticker overview sidebar also changes the order of pages and stickers in the album.

Example:
Imagine you have two chapters: Marketing Department and Sales Department.
You first create some stickers in the Marketing Department chapter and design two related pages. Later, you decide to move the Sales Department to the beginning of the album. When you drag the Sales Department chapter above the Marketing Department chapter, all associated pages and stickers for Marketing Department automatically move behind those of Sales Department.
Working with Chapters
In the "Sticker" section, you can edit your album’s chapters.
Changing the Order
You can change the order of your chapters in two ways: via drag-and-drop or through the chapter menu.
- Drag-and-Drop: Hover over a chapter to display an icon (six dots) on the left side of the name. Click and drag the chapter up or down to reorder it.
- Chapter Menu: Hover over the chapter you want to reorder, then click the three-dot button on the right side of the chapter name. You’ll find buttons to move the chapter up or down by one step.
Creating New Chapters
To create a new chapter, click on "Stickers" in the sidebar and scroll to the bottom.
Click "Add Chapter," give your chapter a name, and confirm with Enter. The new chapter will appear at the bottom of the list above.
Whenever you create a chapter, a blank double-page is automatically added to it.
Renaming and Deleting Chapters
To rename or delete a chapter, open the chapter menu where you’ll find the respective buttons.
When you delete a chapter, all associated stickers and album pages are also deleted. Make sure you no longer need them before proceeding.